Egypt - Nov - Dec 2003
Photos by Cam and Michelle
25/03/2014
Pics taken with our first digital camera
page 2 of 11
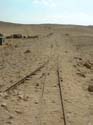
073 - Railway Tracks Pyramid of Menkaure - Giza.jpg
074 - From Railway Tracks Pyramid of Menkaure - Giza.jpg
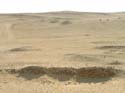
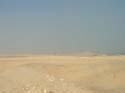
075 - South from Pyramid of Menkaure - Giza.jpg
076 - West from Pyramid of Menkaure - Giza.jpg
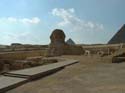
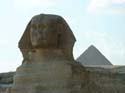
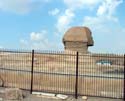
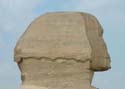
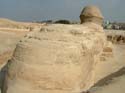
077 - Sphinx - Giza.jpg
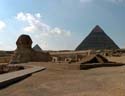
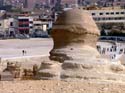
078 - Sphinx & Pyramids - Giza.jpg
079 - Sphinx & Pyramids - Giza.jpg
080 - Sphinx & Pyramid of Menkaure - Giza.jpg
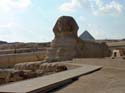
081 - Sphinx & Pyramid of Khufu - Giza.jpg
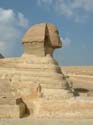
082 - Sphinx - Giza.jpg
083 - Sphinx - Giza.jpg
084 - Sphinx - Giza.jpg
085 - Sphinx - Giza.jpg
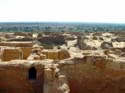
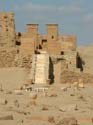
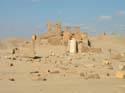
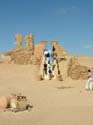
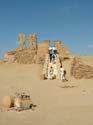
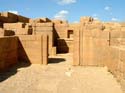
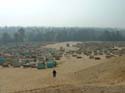
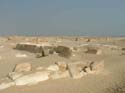
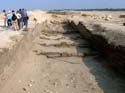
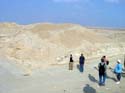
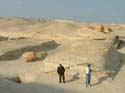
086 - Roman Town - Karanis.jpg
087 - Roman Town - Karanis.jpg
088 - Roman Town - Karanis.jpg
089 - Roman Town - Karanis.jpg
090 - Roman Town - Karanis.jpg
091 - Roman Town - Karanis.jpg
092 - Roman Town - Karanis.jpg
093 - Roman Town - Karanis.jpg
094 - Roman Town - Karanis.jpg
095 - Roman Town - Karanis.jpg
096 - Roman Town - Karanis.jpg
097 - Fossil Roman Town - Karanis.jpg
098 - Fossil Roman Town - Karanis.jpg
099 - Roman Town - Karanis.jpg
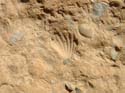
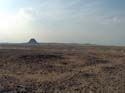
100 - Cocodile Carvings - Hawara.jpg
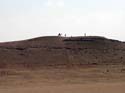
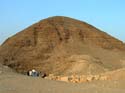
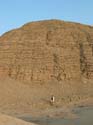
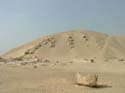
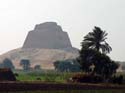
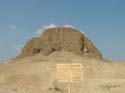
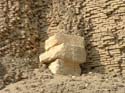
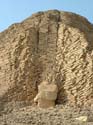
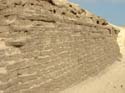
101 - Pyramid of Amenemhat III - Hawara.jpg
102 - Pyramid of Amenemhat III - Hawara.jpg
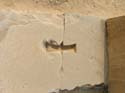
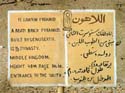
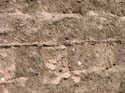
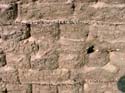
103 - A Mud Brick - Hawara.jpg
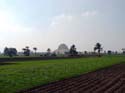
104 - Hawara.jpg
105 - Modern Cemetery - Lisht.jpg
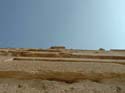
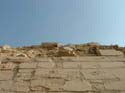
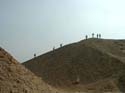
106 - Pyramid of Senwosret I - Lisht.jpg
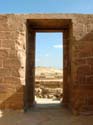
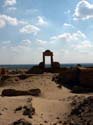
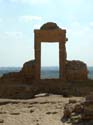
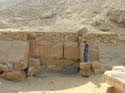
107 - Mortuary Temple of Senwosret I - Lisht.jpg
108 - Pyramid of Senwosret I - Lisht.jpg
109 - Pyramid of Senwosret I - Lisht.jpg
110 - Pyramid of Senwosret I - Lisht.jpg
111 - Pyramid of Senwosret I - Lisht.jpg
112 - Pyramid of Senwosret I - Lisht.jpg
113 - Pyramid of Senwosret I - Lisht.jpg
114 - Pyramid of Senwosret I - Lisht.jpg
115 - Pyramid of Senwosret I - Lisht.jpg
116 - Pyramid of Senwosret I - Lisht.jpg
117 - Pyramid of Senwosret I - Lisht.jpg
118 - Pyramid of Senwosret I - Lisht.jpg
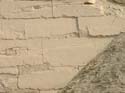
119 - Buttlerfly Join Mortuary Temple Senwosret I - Lisht.jpg
120 - Butterfly Join Mortuary Temple Senwosret I - Lisht.jpg
121 - Pyramid of Amenemhet I - Lisht.jpg
122 - Pyramid of Amenemhet I - Lisht.jpg
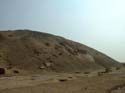
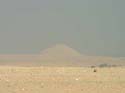
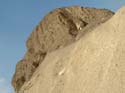
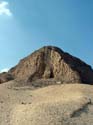
123 - Collapsed Pyramid - Meidum.jpg
124 - Collapsed Pyramid - Meidum.jpg
125 - Collapsed Pyramid - Meidum.jpg
126 - Collapsed Pyramid - Meidum.jpg
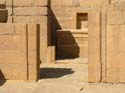
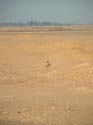
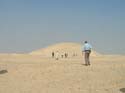
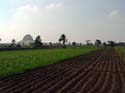
127 - Lahun.jpg
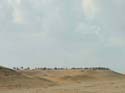
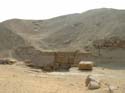
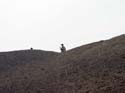
128 - Pyramid of Senwosret II - Lahun.jpg
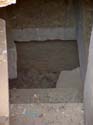
129 - Shaft Pyramid of Senwosret II - Lahun.jpg
130 - Shaft Pyramid of Senwosret II - Lahun.jpg
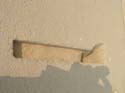
131 - Funerary Complex Walls - Lahun.jpg
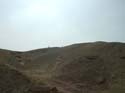
132 - Pyramid of Senwosret II - Lahun.jpg
133 - Pyramid of Senwosret II - Lahun.jpg
134 - Pyramid of Senwosret II - Lahun.jpg
135 - Pyramid of Senwosret II - Lahun.jpg
136 - Pyramid of Senwosret II - Lahun.jpg
137 - Pyramid of Senwosret II - Lahun.jpg
138 - Pyramid of Senwosret II - Lahun.jpg
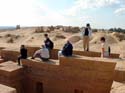
139 - Small Pyramid - Lahun.jpg
140 - Mastabas - Lahun.jpg
141 - Mastabas - Lahun.jpg
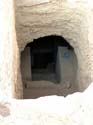
142 - Shaft Tomb - Lahun.jpg
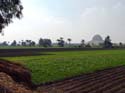
143 - Lahun.jpg
144 - Lahun.jpg